Header Settings
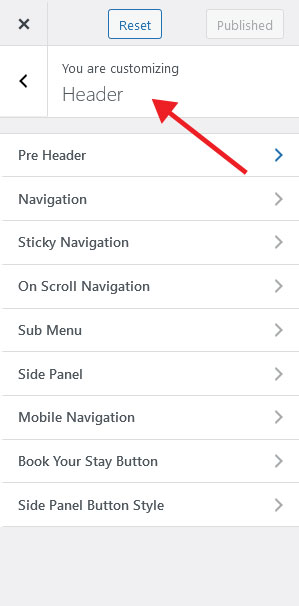
Access your theme’s typography settings is via the WordPress Customizer. To launch it, go to Appearance → Customize → Header in your WordPress dashboard.
You can customize your header from the live customizer > Header panel.
Most of options have been made self explanatory.
The best way to approach your header design is to safely test different layout and design options from the various customizer options. Then once you are happy with your design, simply publish it live.
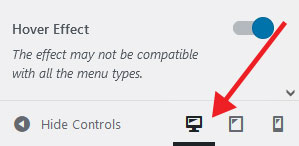
When working on your header, keep in mind that the design on desktop devices will not be the same as the one on mobile devices, due to the dimensions difference. You can preview your website at various widths with the device controls at the bottom of the live customizer panel.
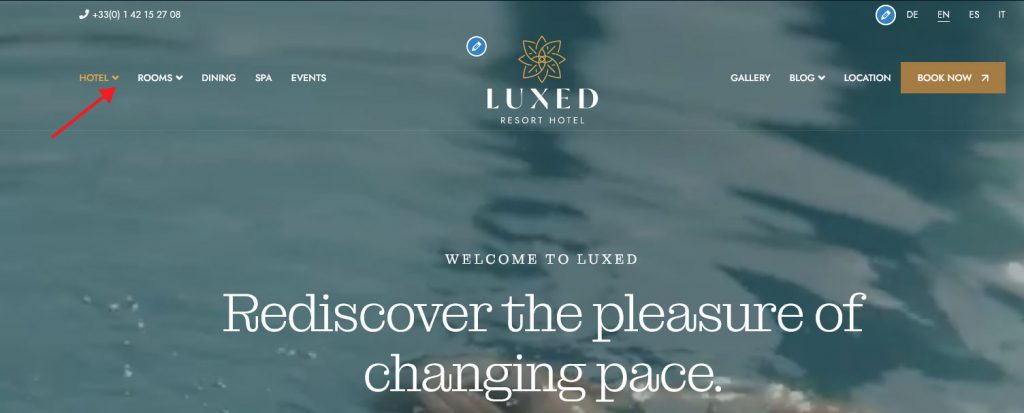
Navigation Settings
Quite advanced options are offered for the header area, which is one of the areas where you will need the most customization throughout the site.
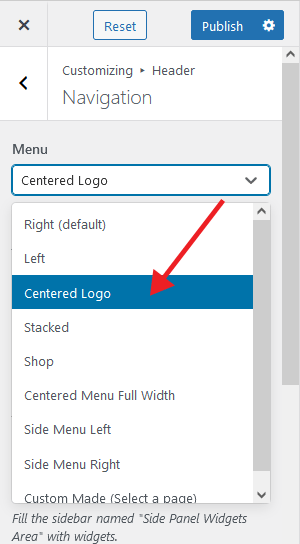
Under Navigation Menus, you can decide the positioning options and other effects of menus on the header.
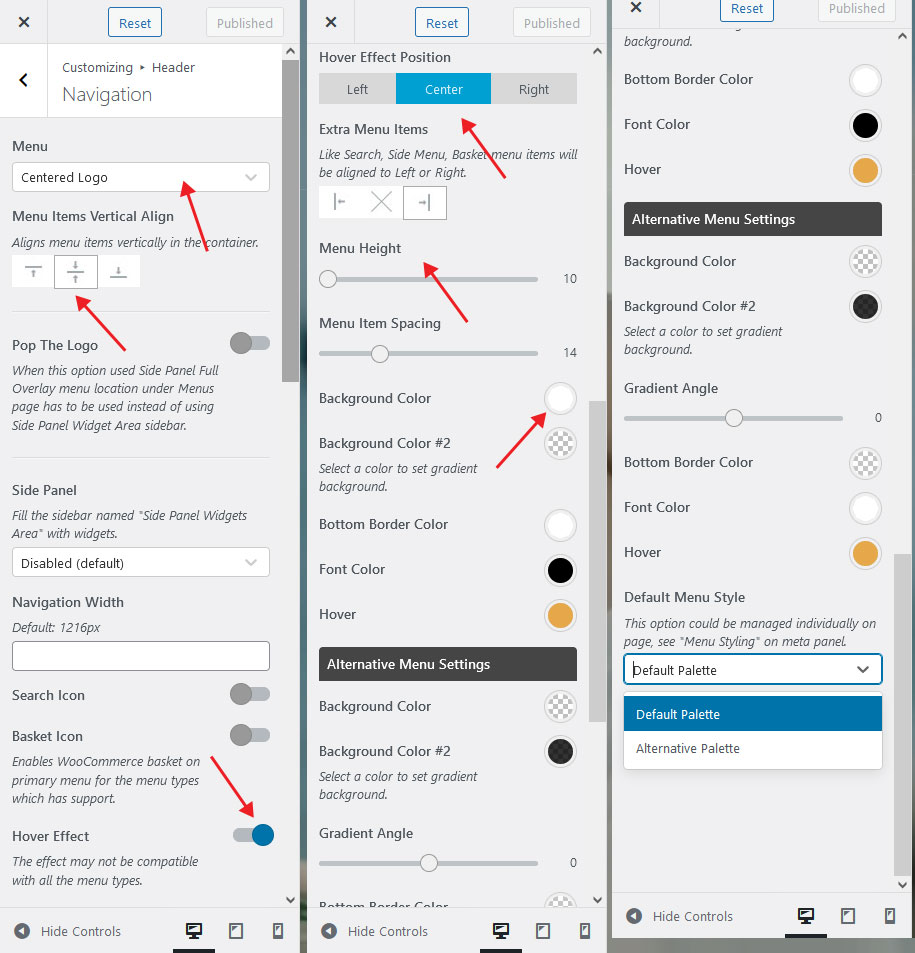
- You can style the menu by using the vertical alignment feature.
- You can optionally enter the navigation width manually.
- To add the Search feature to the menu, just activate the “Search Icon” setting.
- It is enough to activate the “Basket Icon” setting to display the basket of your online store in the menu.
- If you want to add a cool hover effect to your menu links, simply activate the “Hover Effect” setting.
- It is also very easy to adjust the menu height and the spacing between links.
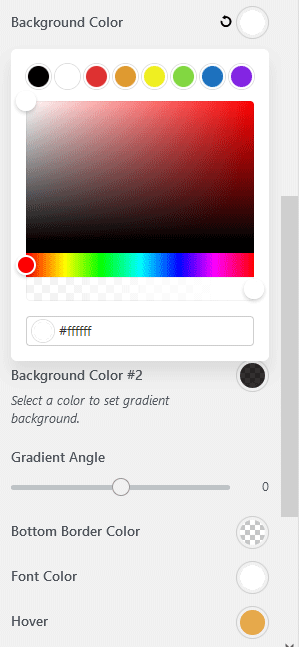
Changing header colors
You can also define custom foreground and background colors. Do you need a gradient background ? Yes you can do that too!
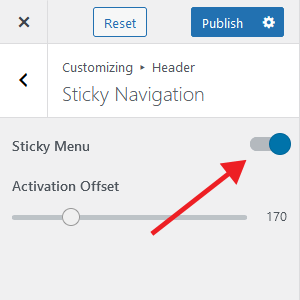
Sticky Navigation
To have sticky navigation on your menu please enable “Sticky Menu” feature.
Don’t forget to press the Publish button after making the necessary settings.